Get Started
If you have any questions please contact us through email contact form.
Installing
To install the theme you must have WordPress already installed.
Please refer the article How to install WordPress.
Theme
You have 2 options for downloading your theme from ThemeForest.
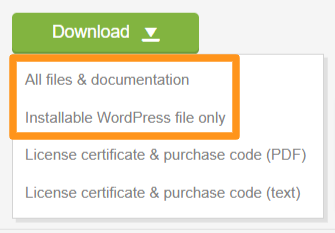
-
Installable WordPress file only (below).
-
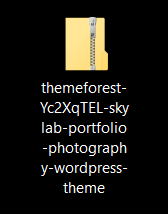
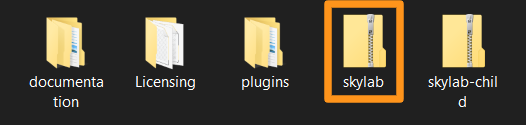
All files & documentation (full zip folder). You will need to extract and locate the installable WordPress file (below).
Please make sure you are uploading only the installable theme which is called NameOfTheme.zip. If you upload ALL these files you will receive an error.
Upload the Installable WordPress File
-
Browse to Appearance > Themes.
-
Click on Add New.
-
Click Upload.
-
Browse and select the theme zip file to upload.
Plugins
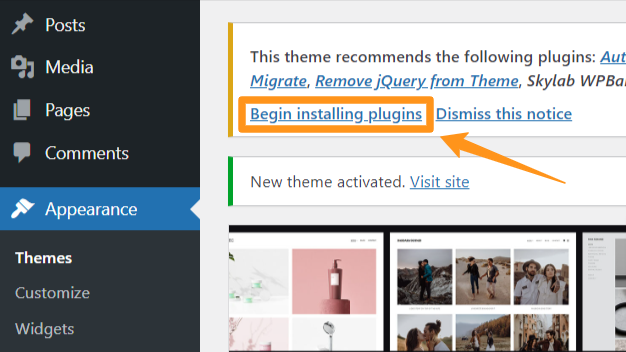
After activating the theme you will see a notice at the top of the screen. This notice is to let you know about the plugins that we recommend you install for use with the theme.
Click Begin installing plugins and install/activate the plugins. You can also access this page by going to Appearance > Install Plugins.
Demo
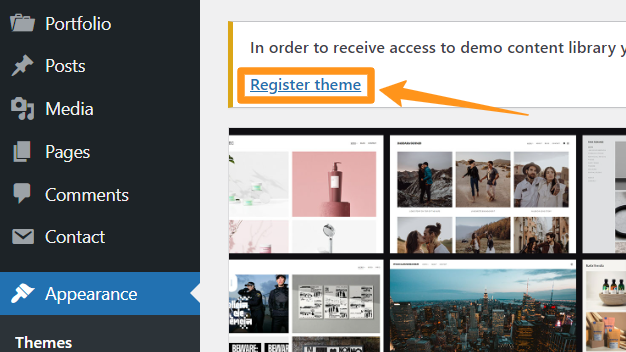
In order to receive access to demo content library you need to activate your copy of the theme.
To register the theme, click Register theme at the top of the screen or go to Appearance > Register Theme and activate your copy of the theme by entering your purchase code.
Please refer the article Where Is My Purchase Code?
Importing
If you did not you will need to install One Click Demo Import plugin first. Navigate to Appearance > Install Plugins and install and activate the plugin.
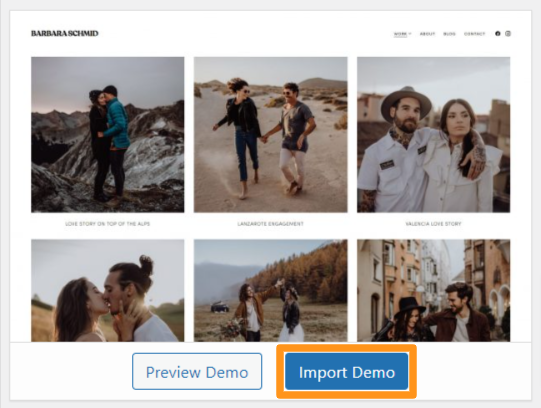
Once the plugin is activated you will find the actual import page in Appearance > Import Demo Data.
Import Issues
Successfully importing data into WordPress is not something we can guaranty for all users. There are a lot of variables that come into play, over which we have no control. For example, one of the main issues is bad shared hosting servers.
If you manage your server and have access to the PHP config, you may increase the values yourself. Recommended values are at least:
-
memory_limit = 256M
-
upload_max_size = 64M
-
post_max_size = 64M
-
upload_max_filesize = 64M
-
max_execution_time = 300
-
max_input_time = 1000
-
max_input_vars = 3000
These are not the only server settings that can influence or block imports, but are a good place to start troubleshooting.
If you do not manage your own server, you will need to contact your host and request they check or update your configuration to enable the plugin to work.
Building Pages
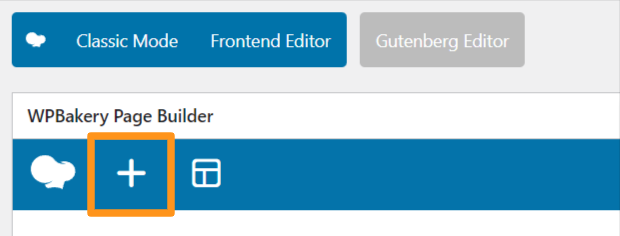
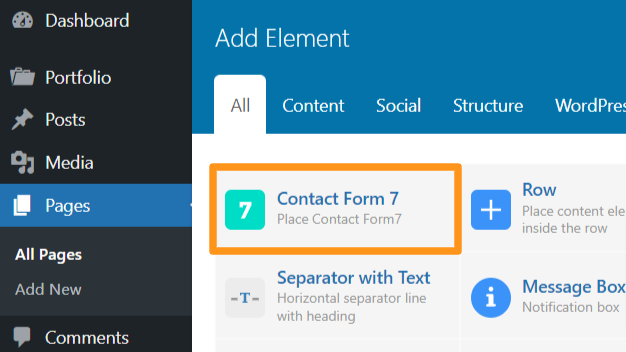
The theme is using WPBakery Page Builder plugin for building pages and posts. The plugin is very easy and doesn’t really need much explanation, have a look at the screenshots below for a quick guide (you can also view this more comprehensive documentation).
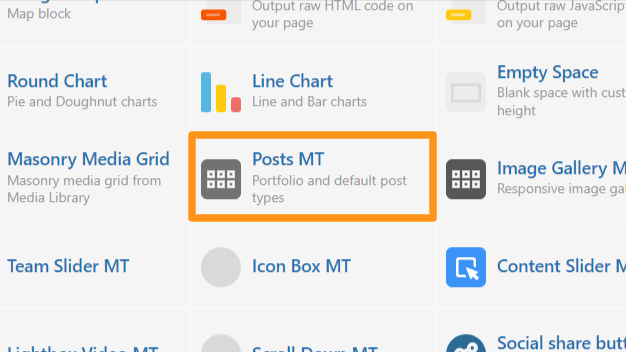
Clicking the Add element button will show the content element selection menu.
To add an element simply click on it.
After adding elements make sure to save your page.
Page
To set up the page navigate to Pages > Add New.
Choose Blank template from the Page Attributes metabox and click Publish.
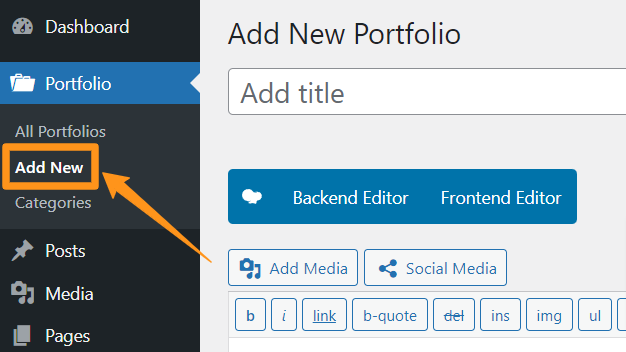
Portfolio
To add a new portfolio item, navigate to Portfolio > Add New. Here you can add the title of the project, a description in the main text editor, upload media, type an excerpt and assign various categories.
Contact Form
Basic knowledge of Contact Form 7 plugin is required.
Please refer the article Getting Started With Contact Form 7.
You will find Contact menu in your admin screen.
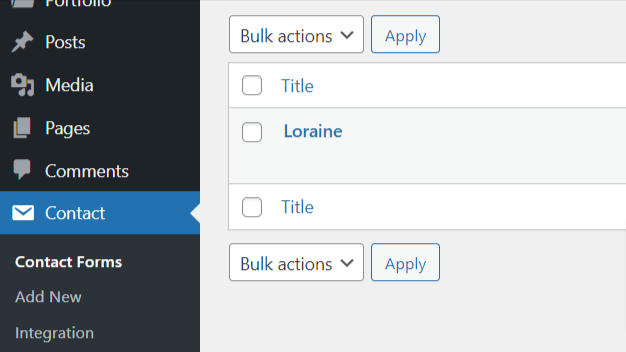
After creating a form you can add it to your page.
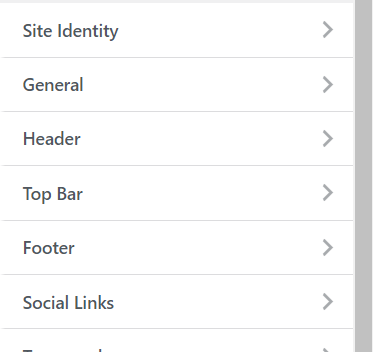
Customizer
The theme comes with a simple to use administration panel where you can configure a number of options to tailor the theme to fit your needs.
You can access it by navigating to Appearance > Customize.
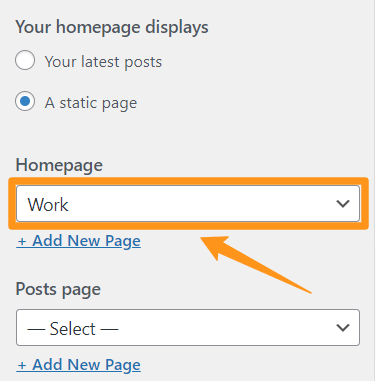
Homepage
To set your home page:
-
Go to Appearance > Customize.
-
Select Homepage Settings.
-
Select A static page.
-
From the drop-down menu under Homepage, choose your new page as the front page for your site.
-
Click Publish.
Menu
To create your site’s menu, follow these steps:
-
Go to Appearance > Customize.
-
Click on Menus.
-
Click the Create New Menu button.
-
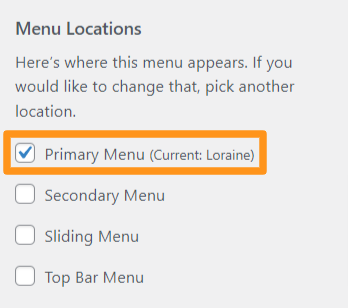
Give your menu a name, such as “Primary Menu”. The name is not shown publicly.
-
Under Menu Locations check at least one box. Your menu will appear in the location you choose.
-
Click Next to begin adding items to your new menu.
-
Click on the Save Menu button.
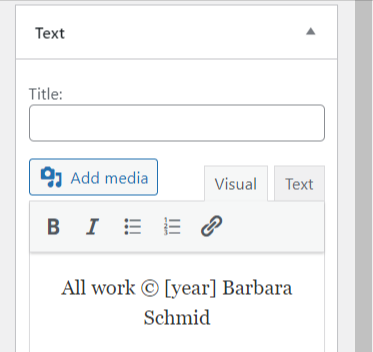
Widgets
Widgets are blocks of content that you can add to your single post’s sidebar and footer.
To add a widget you can use the following steps:
-
Go to Appearance > Customize.
-
Click the Widgets menu in the theme customizer.
-
Click on the widget area.
-
Click Add a Widget button.
-
Click a widget you want to add.